Homemade Apple Pie
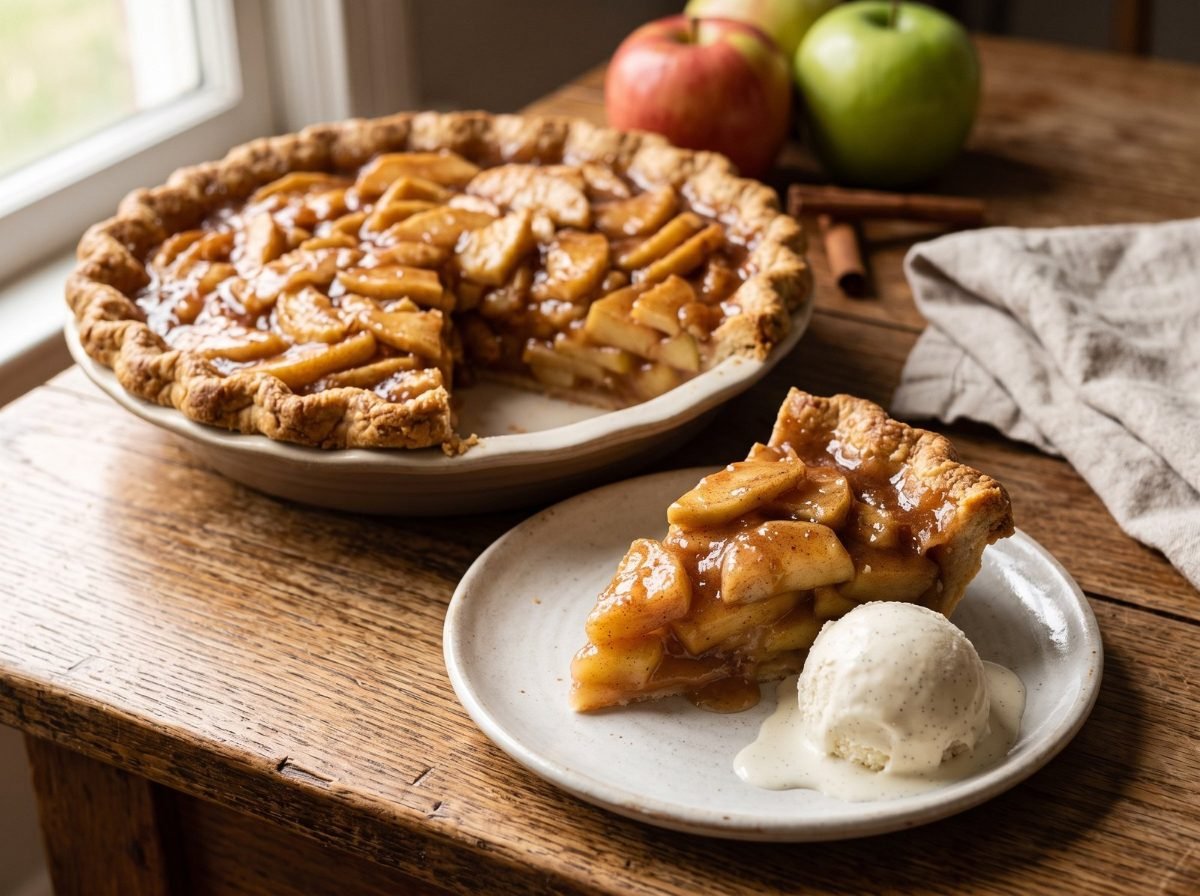
This homemade apple pie has everything a classic should: a flaky, golden all-butter crust, a thick filling of tender apple slices in a cinnamon syrup, and slices that actually hold their shape. No soupy puddle in the pie plate and no big empty gap between the apples and the top crust.
The secret is one simple extra step. You let the sliced apples sit with the sugar for half an hour, then boil down the juice they release into a syrup before it ever goes into the pie. It takes ten minutes and solves the two most common apple pie problems at once.
Why this apple pie works
- Reduced apple juices. Apples release a lot of liquid as they bake. Drawing it out first and cooking it into a syrup gives you a thick, glossy filling instead of a watery one.
- No gap under the crust. Apples shrink as they lose moisture. Since some of that moisture is already gone before baking, the filling stays put under the top crust.
- An all-butter crust. Cold butter pieces turn into steam in the oven, which is what creates flaky layers.
- A hot start, then lower heat. Starting at 425°F sets the crust quickly so the bottom doesn’t turn soggy. Finishing at 375°F lets the apples cook through without burning the top.
Ingredient notes

- Apples: use a mix of tart and sweet apples for the best flavor and texture. Granny Smith with Honeycrisp, Braeburn, Pink Lady or Golden Delicious is a great combination. Skip Red Delicious, which turns mealy, and keep soft apples like McIntosh to one or two at most, since they break down into sauce. My guide to the best apples for baking covers every common variety.
- Butter: it must be very cold. Cube it, then put it back in the fridge or freezer for 10 minutes before you start.
- Ice water: add it a tablespoon at a time. You want a dough that just holds together when squeezed, not a sticky one.
- Flour in the filling: it thickens the juices. You can use 3 tablespoons of cornstarch instead for a clearer, glossier filling.
- Short on time? A package of refrigerated pie crust works fine here. The filling method is what makes the biggest difference.
Helpful tools for this recipe
- 9-inch glass pie plate: glass lets you check that the bottom crust is golden before you take the pie out.
- Pastry blender: cuts cold butter into flour quickly, before it has a chance to soften.
- Rolling pin: a simple wooden French pin makes it easy to roll an even crust.
- Pie crust shield: protects the edges from over-browning during the long bake.
This post contains affiliate links. As an Amazon Associate I earn from qualifying purchases.
How to make apple pie
1. Make the crust. Whisk the flour, sugar and salt in a large bowl. Add the cold butter and cut it in with a pastry blender or your fingertips until the pieces are about the size of peas. Some bigger flat pieces are good. Drizzle in the ice water a tablespoon at a time, tossing with a fork, until the dough holds together when you squeeze a handful. Divide it in half, flatten into two disks, wrap and chill for at least 1 hour.
2. Prepare the apples. Peel, core and slice the apples about 1/4 inch thick. Toss them in a large bowl with both sugars, the flour, cinnamon, nutmeg, salt and lemon juice. Let them sit for 30 minutes. You’ll see a good amount of juice pool at the bottom of the bowl.
3. Reduce the juices. Drain the apples in a colander set over a bowl. Pour the juice into a small saucepan, add the butter and simmer for 4 to 5 minutes, until it’s syrupy and reduced by about half. Pour the syrup back over the apples and toss.
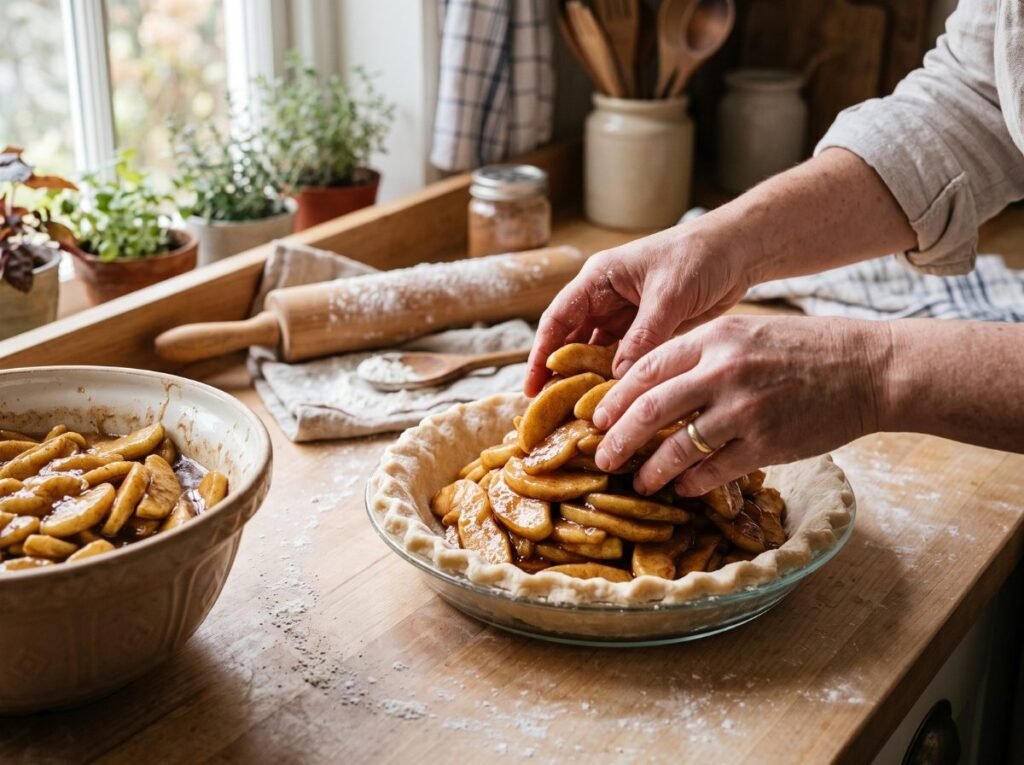
4. Roll the bottom crust and fill. Place a rack in the lower third of the oven and heat it to 425°F (220°C). On a lightly floured surface, roll one disk into a 12-inch circle and ease it into a 9-inch pie plate without stretching it. Pile in the apples, mounding them a little higher in the center.

5. Add the top crust. Roll the second disk into an 11-inch circle and lay it over the apples. Trim the overhang to about 1 inch, fold it under and crimp the edge with your fingers or a fork. Cut 4 or 5 vents in the top so steam can escape. Brush with egg wash and sprinkle with coarse sugar. Chill the pie for 15 minutes so the butter firms up again.
6. Bake. Set the pie on a baking sheet to catch drips and bake for 20 minutes. Lower the oven to 375°F (190°C) and bake 40 to 50 minutes more, until the crust is deep golden brown and thick juices bubble slowly through the vents. If the edges brown too fast, cover them with foil or a pie shield.
7. Cool before slicing. This is the hardest part. Let the pie cool on a rack for at least 3 hours. The filling keeps thickening as it cools, and cutting it warm is the main reason apple pie runs all over the plate.
Tips for the best apple pie
- Keep everything cold. If the dough gets soft or sticky while you roll it, slide it onto a tray and chill it for 10 minutes.
- Look for bubbling juices. The filling is only fully thickened once the juices bubble thickly through the vents. If you pull the pie as soon as the crust is brown, the filling may be runny.
- Bake low in the oven. The lower rack puts the bottom crust closer to the heat, so it browns and crisps instead of staying pale.
- Slice evenly. Slices of the same thickness cook at the same rate, so you don’t end up with some mushy pieces and some crunchy ones.
Easy variations
- Lattice top: cut the second crust into 1-inch strips and weave them over the filling. Skip the vents.
- Crumb topping: use one crust only and top the apples with the streusel from my apple crisp. Bake at 375°F for the whole time.
- Salted caramel apple pie: drizzle 1/3 cup of thick caramel sauce over the apples before adding the top crust.
- Warmer spice: swap the cinnamon and nutmeg for 2 teaspoons of homemade pumpkin pie spice.
Serve it warm with vanilla ice cream or a spoonful of whipped cream. Building a dessert table for a crowd? A classic pecan pie sits nicely next to it, and this easy apple cake is a lower-effort option when there’s no time to roll dough. Feeding a big group? This carrot sheet cake serves 16.
Make ahead, storing and freezing
Make ahead: the dough keeps for 3 days in the fridge or 3 months in the freezer. Thaw frozen dough overnight in the fridge. You can bake the whole pie a day ahead too. Apple pie is often easier to slice the next day.
Storing: a baked fruit pie can stay at room temperature, loosely covered, for up to 2 days, then in the fridge for 2 to 3 days more. The FoodSafety.gov storage chart lists guidelines for pies and other baked goods.
Freezing: wrap the fully cooled apple pie tightly in plastic wrap and foil and freeze for up to 3 months. Thaw at room temperature, then warm in a 350°F oven for 15 to 20 minutes to re-crisp the crust.
Want apple pie flavor without the crust? Make a skillet of Southern fried apples in 30 minutes and spoon them over vanilla ice cream.
Not a fan of rolling a top crust? Try this Dutch apple pie, topped with a thick, buttery brown sugar crumb instead.
Questions
Why is my apple pie runny?
Usually the pie was underbaked or sliced while still warm. Bake until the juices bubble thickly through the vents and let it cool for at least 3 hours. Reducing the juices before baking, as in this recipe, also helps a lot.
Why is there a gap between the crust and the apples?
Raw apples shrink as they bake while the top crust sets in place. Letting the apples sit in sugar first draws out some of their moisture, so they shrink less in the oven.
Do I need to peel the apples?
Peeled apples give the smoothest, most classic filling. The peels get chewy and can separate from the slices, so peeling is worth the few extra minutes.
How do I keep the bottom crust from getting soggy?
Bake the pie on the lower rack, start at a high temperature, and don’t skip the step of reducing the juices. A glass pie plate also lets you see when the bottom is golden.
If you bake this apple pie, leave a comment and a star rating. Ice cream or whipped cream on yours?
Homemade Apple Pie
Ingredients
Method
- Make the crust: whisk the flour, sugar and salt. Cut in the cold butter with a pastry blender or your fingertips until the pieces are the size of peas. Drizzle in ice water a tablespoon at a time, tossing with a fork, until the dough holds together when squeezed. Divide in half, shape into two disks, wrap and chill for at least 1 hour.
- Toss the apples with both sugars, flour, cinnamon, nutmeg, salt and lemon juice in a large bowl. Let stand for 30 minutes, stirring once or twice.
- Set a colander over a bowl and drain the apples. Pour the juices into a small saucepan, add the butter and simmer for 4 to 5 minutes, until syrupy and reduced by about half. Pour the syrup back over the apples and toss.
- Place an oven rack in the lower third and heat the oven to 425°F (220°C). Roll one disk into a 12-inch circle on a floured surface and fit it into a 9-inch pie plate. Add the apples, mounding them slightly in the center.

- Roll the second disk into an 11-inch circle and lay it over the apples. Trim the overhang to 1 inch, fold it under and crimp. Cut 4 or 5 vents in the top. Brush with egg wash, sprinkle with coarse sugar and chill for 15 minutes.
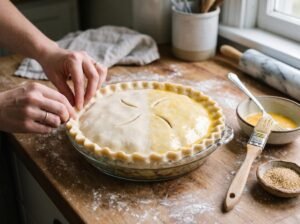
- Set the pie on a baking sheet and bake for 20 minutes. Lower the oven to 375°F (190°C) and bake 40 to 50 minutes more, until the crust is deep golden and thick juices bubble through the vents. Cover the edges with foil if they brown too quickly.
- Cool the pie on a wire rack for at least 3 hours before slicing so the filling can set.
Notes
- Best apples: mix tart and sweet varieties, like Granny Smith with Honeycrisp, Braeburn or Pink Lady, for the best flavor and texture.
- Store-bought crust: use a 2-crust package of refrigerated pie dough instead of homemade.
- Make ahead: the dough keeps 3 days in the fridge or 3 months in the freezer. The baked pie keeps 2 days at room temperature, loosely covered.
- Cool completely before slicing, or the filling will run.